Grow Tent Ventilation: How to Calculate Your Needs
Healthy plants lead to a healthy harvest, and one of the most important things to consider when growing cannabis is ventilation. Grow tents enable year-round cultivation, but without sufficient ventilation, plants will be prone to problems. Let’s explore the importance of ventilation and its impact on cannabis.
Why is grow tent ventilation necessary?
Outside, cannabis plants are constantly exposed to the natural elements, including a steady breeze and a constant supply of carbon dioxide. As such, indoor growers will look to recreate this natural environment, and a sound ventilation system can do just that.

An adequate ventilation system replenishes fresh air for photosynthesis, regulates temperature and humidity levels while preventing the development of diseases and pests.
Air circulation
Without constant fresh air, plants cannot photosynthesise and will eventually perish. Photosynthesis is the process of converting light energy into chemical energy. Plants use natural sunlight and carbon dioxide to create essential carbohydrates, with oxygen released as a by-product.
Humidity control
Throughout the growing cycle, transpiration occurs naturally, and cannabis plants transpire through the stomata and cuticles in the leaves. This process increases the humidity inside the growing area, and replenishing air is crucial. This removes any stagnant air and mould pathogens.
Temperature
It is well known that extreme temperatures and dramatic changes in humidity can dramatically affect yield. Whether you’re using HPS or LED lights, both emit excess heat and replenishing the airflow allows for the removal of unwanted heat molecules.
Prevents unwanted pests
Stagnant air provides the perfect breeding ground for unwanted pests, such as aphids, spider mites, and fungus gnats. Reducing humidity and removing stale air helps to create an unfriendly environment for pests and diseases.
So, without proper ventilation, it is evident that a lack of airflow can decrease the potential yield while increasing the risk of pests and diseases.
The basics of grow tent ventilation

Ventilation inside your tent provides constant fresh air while regulating: temperature, humidity, noise and odours. It helps pull fresh air from outside into the tent, replenishing the old, warm air, and increasing carbon dioxide levels. A ventilation system contains six main components. So, let us discuss them in detail.
1. Inline fan

An inline fan maintains a stable and controlled environment within the grow room by regulating the airflow, temperature, carbon dioxide distribution, and humidity. They are attached to either the intake or exhaust of the ducting unit. Fresh air is pulled into the cultivation area from outside, providing plants with the necessary air exchange and circulation to distribute an adequate supply of carbon dioxide (CO2) for photosynthesis.
For optimal growth, cannabis requires precise temperature and humidity levels. Inline fans can help remove hot, stagnant and humid air by replenishing the supply of fresh air. Excessive heat and humidity can increase the risk of pest infestations or diseases like botrytis and mildew. Adequate airflow also helps strengthen plant stems which can benefit plant development and lead to healthier and more productive harvests.
2. Extractor fan
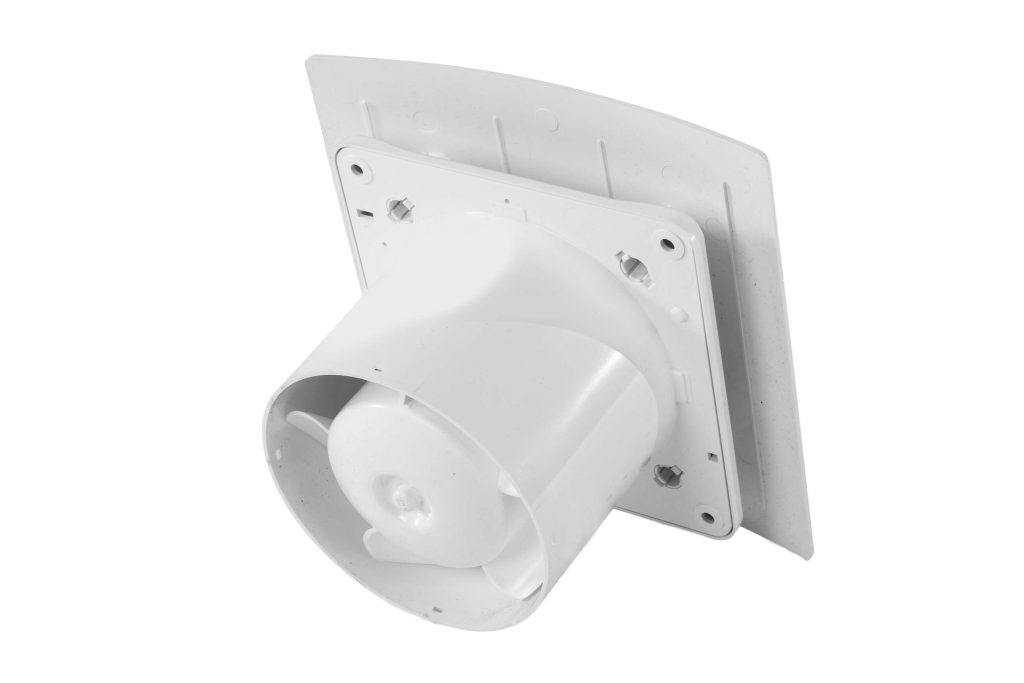
An extractor fan plays an essential role in helping to control and regulate the best atmosphere inside your growing area. Extractor fans draw contaminated air from the growing area through the carbon filter before the air is re-emitted into the environment. They help control the temperatures within the growing area, encouraging healthy growth.
Fans ensure plants receive a steady airflow by pulling in the fresh air and expelling the stale, stagnant air. They also help with odour control by removing the odorous air passed the carbon filter. Last but not least, they help remove excess moisture within the growing area, helping reduce the potential for diseases and unwanted critters.
3. Oscillating fans
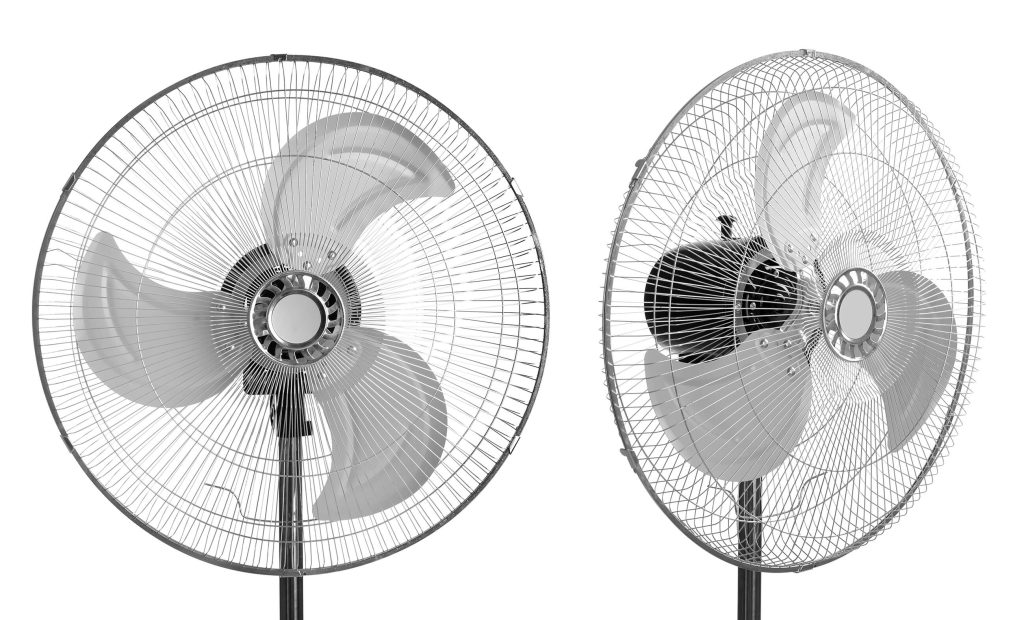
An oscillating fan promotes air circulation and maintains a stable microclimate within a grow room. These fans are positioned around the growing area’s interior and help move air through the upper and lower canopy, while limiting the buildup of stagnant air around the plants.
The gentle airflow mimics the natural wind patterns, and fans rotate to provide an adequate air supply for each area. This gentle movement helps to strengthen the plant stems and promotes healthy growth.
4. Ducting
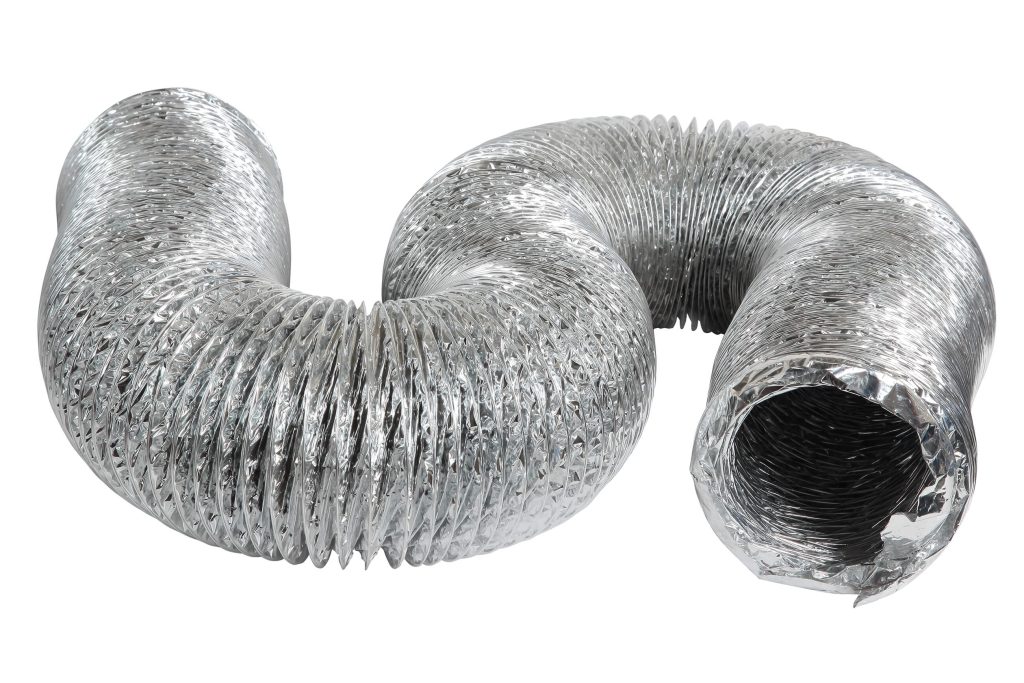
Ducting acts as a channel to remove stagnant air, humidity, and excess heat, helping maintain an optimal growing environment. Ducting is regularly used to connect extractor fans and carbon filters and is more efficient for larger cultivation areas.
It is most commonly made of aluminium, which can be easily customised. To ensure adequate air circulation and ventilation, it is essential to consider the size and length of the ducting and the volume of your growing area.
5. Carbon filter
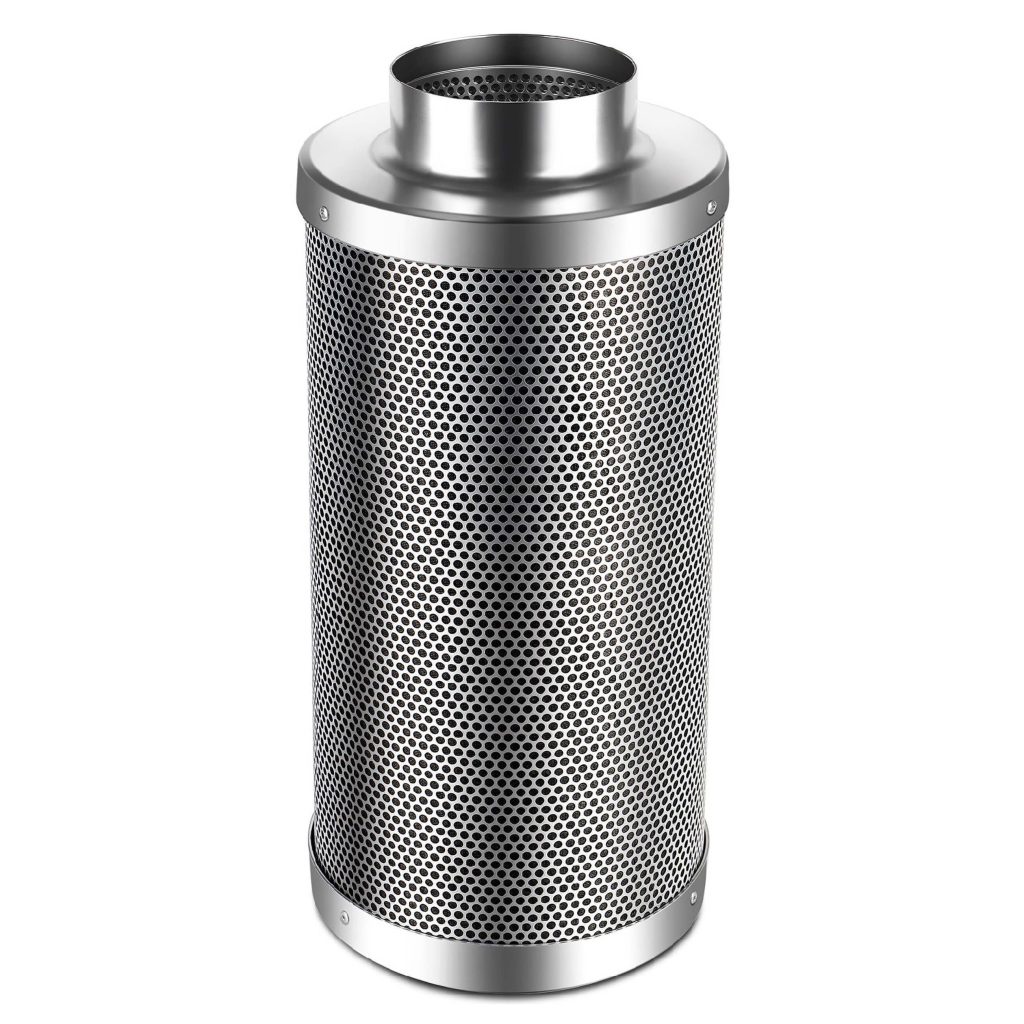
The carbon filter is essential for those strains with a heavy odour during flowering and helps remove all unwanted aromas from the growing cycle. It uses the principle of absorption to remove aromatic compounds from the air. Carbon has a vast surface, and up to one gram of carbon has a surface area of 3000 metres squared, ideal for neutralising the pungent odour from cannabis plants.
There are two main types of carbon filters: granular and block. Block filters are primarily used for large-scale growing operations. However, for hobby growers, the granular filter is the perfect addition for smaller tents and growing areas.
6. Booster fans
Booster fans improve air circulation while maintaining adequate ventilation, temperature and humidity levels within the growing environment. They ensure sufficient airflow throughout the canopy and lower foliage, limiting the development of botrytis and pests by removing any unwanted stagnant air. It is essential to consider the size of the growing area, the number of plants being cultivated, and the equipment used before selecting a booster fan.
What does cubic feet per minute mean?
Cubic feet per minute (CFM) is an imperial unit of measurement specifically used to describe the volumetric rate of airflow. It represents the amount of air flowing through the cultivation area in one minute. The term “cubic feet” refers to the volume of air measured, and “per minute” indicates the period over which the measurement is taken.
It is often used to determine the efficiency and capacity of ventilation systems, helping to asses how quickly air can be circulated, exchanged, or filtered within a given space. It is crucial for regulating adequate air quality and temperature.

As the airflow requirement is measured using the imperial system, those using metric must convert centimetres into feet by dividing each measurement by 30.48. For example, if we have a grow area which is 120 cm tall, 60 cm wide and 120 cm long, we would divide each by 30.48.
Height: 120 cm / 30.48 = 3.94 ft
Length: 120 cm / 30.48 = 3.94 ft
Width: 60 cm / 30.48 = 1.95 ft
Factors that influence airflow in the grow tent
Optimal airflow within the cultivation area can depend on various factors. So let’s discuss the six main factors.
1. Size of the growing area
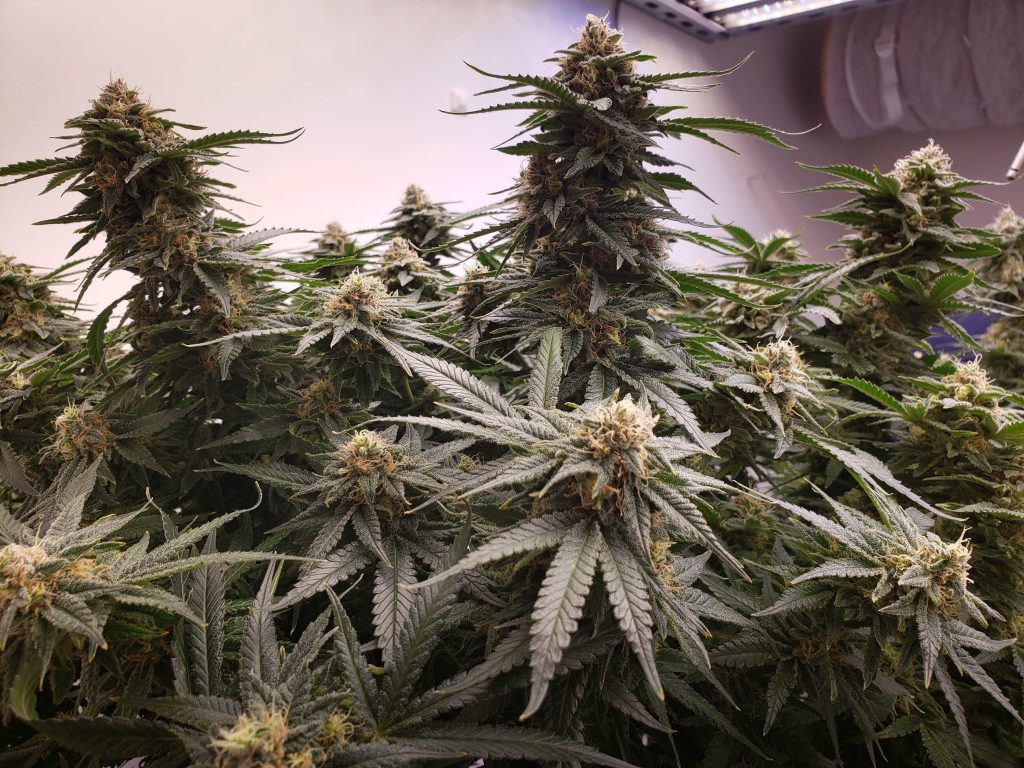
If you are growing in a small hobby tent, you will not need the same airflow as in a large greenhouse. To select the right equipment for the growing cycle, it is essential to assess the size of your cultivation area and calculate its volume to determine the suitable tools needed.
2. Exchange rate
In general, for optimal growth, experienced growers recommend replenishing the volume of air in the growing area every one to three minutes. For example, if you have a grow area with a volume of 150 cubic feet, an airflow rate of 150-450 cubic feet per minute (CFM) would be needed.
3. Ventilation system and equipment
A typical tent ventilation system usually comprises two fans: an exhaust fan and an intake fan. The exhaust fan eliminates excessive heat and stagnant air, while the intake fan draws in fresh air. The strength of these fans should be selected according to the tent’s dimensions and the desired air exchange rate.
4. Environmental conditions
The temperature outside can affect the temperature inside, and growers often increase CFM airflow on hot days to prevent mildew development. The tent’s location, whether in the loft, basement or inside an insulated house, could also increase or decrease the optimal airflow depending on the environmental conditions.
5. Air intake
Along with active air intake, passive intake can help increase the growing area’s airflow. With the help of strategically placed oscillating fans, small openings at the bottom of the growing area create a temperature difference, which forms natural convection, pulling fresh air into the area.
6. Lighting and energy consumption
The wattage of the light does not directly influence the recommended CFM. However, a light with a high lumen will often use a more considerable amount of energy, emitting more heat. Raising temperature throughout the cultivation cycle can considerably influence the airflow in the grow room!
How much airflow is needed in your grow tent?

To find out how much airflow is needed, you must find the volume of your growing space. This number will be equivalent to the CFM necessary to ventilate the space. However, this could vary depending on the number of plants being grown, the lighting used, the size of the area, and environmental conditions. Generally, to determine the volume of your grow tent, you need to multiply its length, width, and height. For our hypothetical grow area, the calculation would be:
(length) x (width) x (height) = volume of growing area
3.94 ft x 1.95 ft x 3.94 ft = 30.3 CFM
For optimal growing conditions, changing the entire airflow circulation of the growing area at least once every minute is recommended. This will give us a minimum air exchange rate of 1; multiply the air exchange rate with the volume to find the minimum base CFM.
((length X width X height) x (air exchange rate )) = base CFM
(3.94 x 1.95 x 3.94) x 1 = 30.3 CFM
Extra ventilation accessories within the growing area can reduce the performance of fans and require the need to increase the airflow. So, to find out the required CFM within our growing area, we need to find the efficiency percentages of the ventilation accessories.
Ducting is crucial in controlling the airflow levels and directly affects the CFM. The size and length can increase surface air within the growing area, reducing airflow. Curves and bends within the ducting can also dramatically reduce airflow levels within the grow. Experienced growers report that an extra 20% should be added to the required CFM calculations for every minor angle in the ducting, while a 1% increase in CFM is needed for every foot of ducting.
So, if our hypothetical grow area has 2 ft long of ducting, it would increase the CFM by 2%. However, if that same ducting has two angles, that would add an extra 40%, leading to an overall increase of 42%. If the base CFM is 30.3 for adequate ventilation, an additional 12.72 CFM would be needed to incorporate the ducting.
Carbon filters scrub the air of impurities and slow down the absorption rate. Growers generally describe an increase of 25%, so an extra 7.5 CFM would be needed for the required CFM. Grow lights emitting heat can directly affect airflow, and the need to increase the CFM by up to 10% per 1000W of power.
Ducting: 42%
Carbon filter: 25%
Lights: 10%
Total increase (sum): 77%
Overall with all our ventilation attachments, there is an increase of 77%. Hence, the required CFM is 177% of the original volume. To calculate the required CFM, change the percentage into a decimal and multiply it by the original volume of the growing area.
(Grow room volume) x (Accessories) = Required CFM
30.3 x 1.77 = 53.6 CFM
This tells us that to adequately replenish the air in our growing area once every minute, we need a fan with at least 55 CFM.
Explaining passive and active intake
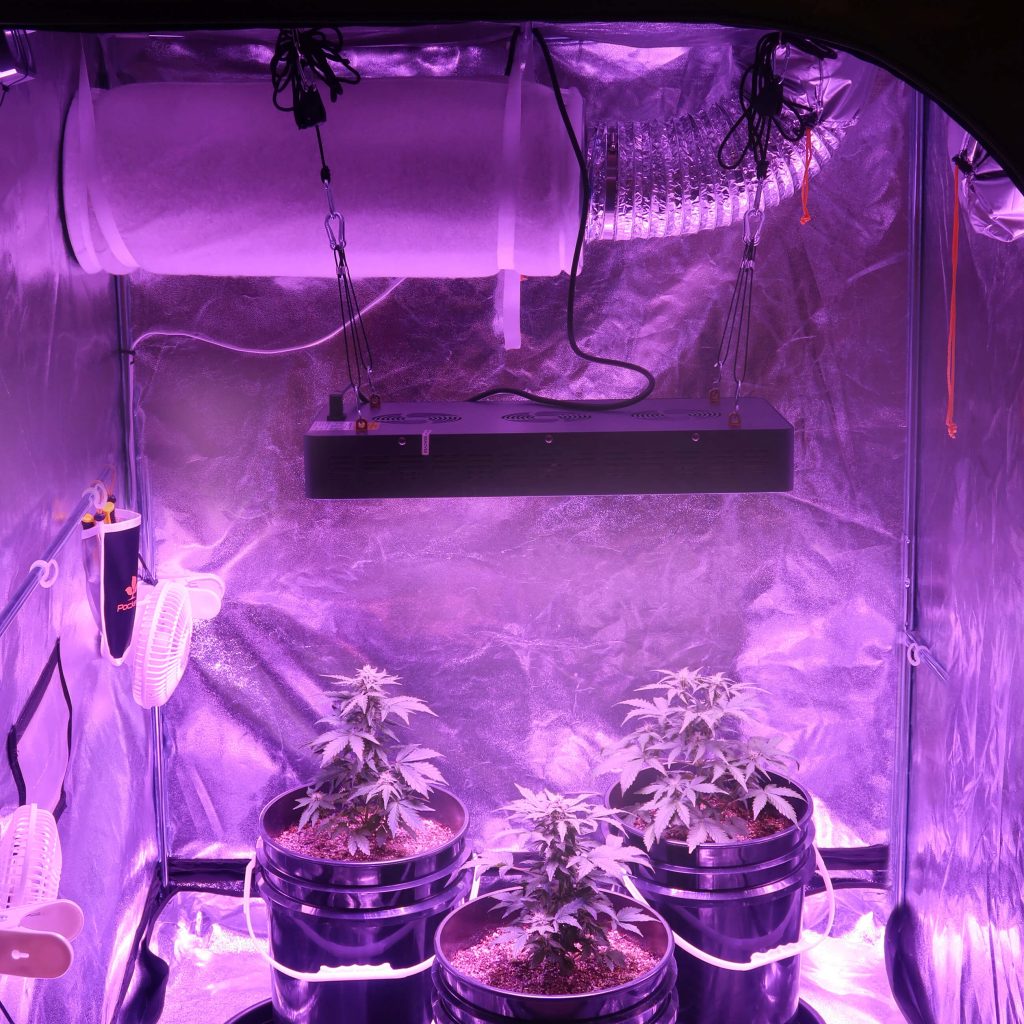
Passive and active intake are two ways to maintain a constant airflow within your growing area while removing unwanted, stagnant air. They both help to create an optimal growing environment. Here is a breakdown of both methods.
Passive intake
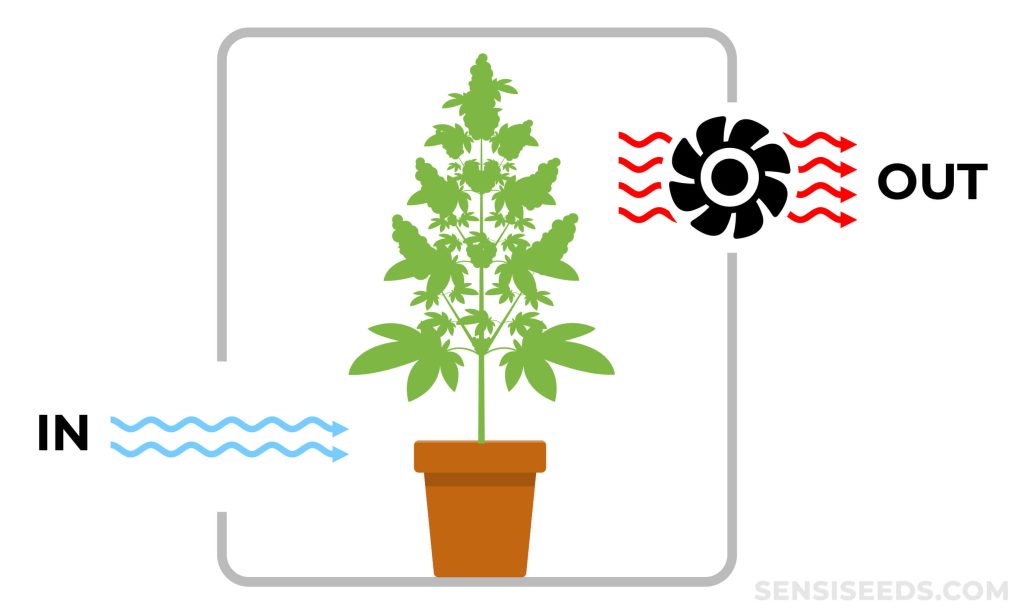
The idea behind passive intake is to create pressure which naturally draws fresh air through the canopy. Drawing fresh air from outside discourages the buildup of excess heat and moisture within the growing area and promotes healthy growth.
Passive intake relies on a strategically placed opening, usually at the bottom of the grow tent, to help encourage the natural flow of air into the area. Exhaust fans are positioned at the top of the growing area, thus creating negative pressure inside the tent. More openings can be made for growers with larger sizes to adequately control the desired environmental conditions.
This type of ventilation is specially designed to passively let fresh air into the space without an active ventilation system. Excellent if you are seeking a cost-effective and efficient method for ventilation. Due to its relatively simple design, it is also great for beginners not looking to dive into other ventilation methods. Nevertheless, it is essential to note that passive intake may only be suitable for some cultivation scenarios.
Active intake

Maintaining a balanced air exchange rate within the cultivation area is essential. An active intake ventilation system uses an intake or booster fan to pull fresh air from outside into the growing area, providing better conditions for plant respiration. They are generally positioned at the bottom of grow space to draw cooler air in and can be controlled to adjust the airflow rate.
They also help to provide the plants with a continuous cycle of fresh air and carbon dioxide for photosynthesis, eliminating the buildup of stagnant air within the canopy. Growers can maintain peak conditions by regulating the amount of fresh air entering the growing area. Active intake can help balance CO2 levels, preventing excess humidity and heat buildup while influencing healthy growth and bumper yields.
Ventilation configuration – which is the best method for you?
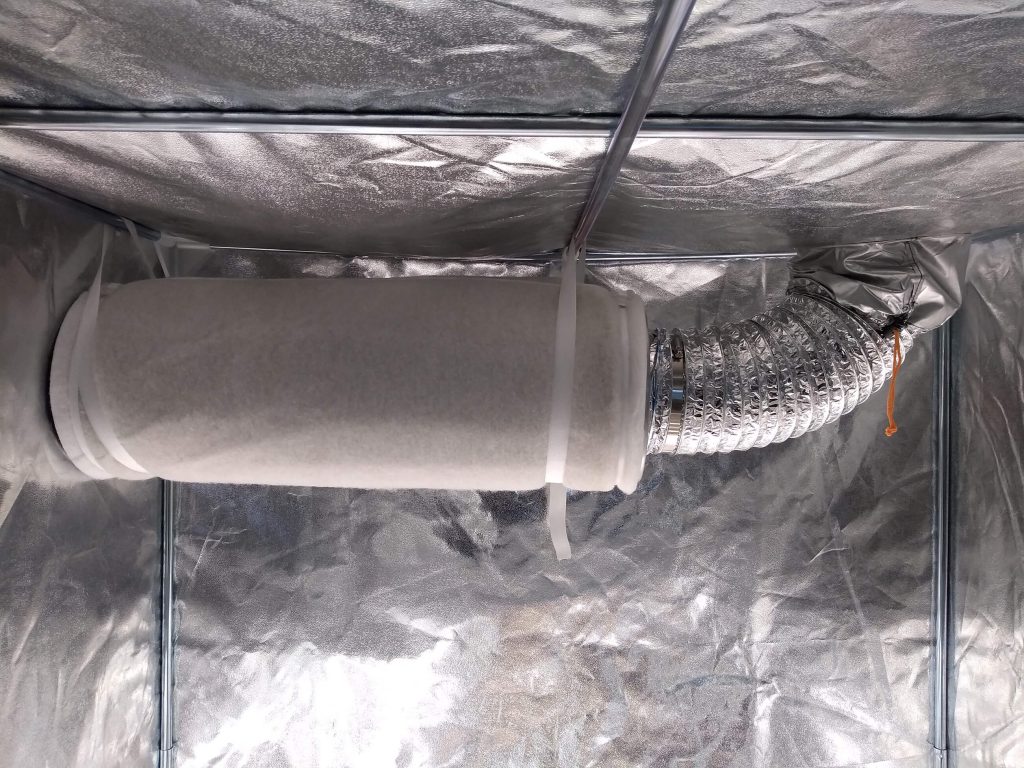
Extractor fans and carbon filter systems can be configured in various ways to replenish fresh air and extract stagnant unwanted air. The primary goal is keeping plants healthy with optimal environmental conditions.
If space is limited inside the tent, the ventilation system can be set up outside the tent if necessary. However, installing all ventilation systems inside the growing area is recommended to ensure minimal noise. Check out the examples below:
1. Carbon Filter > Extractor > Ducting

Inside the cultivation area, a carbon filter can be connected to the extractor via ducting, scrubbing the air of any unwanted odours before it is pushed through the ducting and outside. For most growers, this will be the simplest of setups and helps minimise noise levels with all equipment inside the growing area.
2. Carbon Filter > Ducting > Extractor

The carbon filter is hung inside the grow room, while ducting connects it to the extractor fan mounted outside. The extractor fans pull air through the carbon filter and ducting before re-emitting it externally.
3. Extractor > Ducting > Carbon Filter

The extractor can be positioned inside the growing area, while the carbon filter can be set up outside the growing area. Pulling air through the ducting and out into the carbon filter removes the odour directly before releasing it into the outside environment. However, be wary that pulling odorous air into the extractor fan can damage your fan’s output.
4. Ducting > Extractor > Carbon Filter

The fan and filter can be set up outside the growing area. The extractor fan pulls air from inside through the ducting and the carbon filter. The odourless air is now released outside the growing area. It is an ideal ventilation system for those with limited space, but it could be rather loud for those with sensitive hearing. To maximise efficiency, keep the ducting as straight and short as possible.
5. Carbon Filter > Reflector > Extractor

For those using heavy-duty HPS lights, an extractor can be installed before an air-cooling reflector hood. The extractor fan pulls air through the reflector and forces it through the ducting and into the carbon filter before releasing it into the environment.
Always remember that the size of the tent, the number of plants, and environmental conditions should be considered when deciding on the appropriate ventilation strategy.
Is a ventilation system in a grow tent essential?

If you are considering starting the growing cycle without adequate ventilation, think again! Not only can this drastically reduce the yield, but it can also hinder your patience as a grower. A sound ventilation system is essential if you are looking for healthy plants, exotic terpene profiles and lush yields.
If you have any thoughts on what makes an excellent ventilation system, please let us know in the comments below. Any hacks, tips, tricks? Please share!
-
Disclaimer:
Laws and regulations regarding cannabis cultivation differ from country to country. Sensi Seeds therefore strongly advises you to check your local laws and regulations. Do not act in conflict with the law.


